Kedarkantha for beginners: The Perfect First Himalayan Summit
Your first Himalayan summit? Why Kedarkantha suits beginners, what's honestly hard about it, and how to get ready for it in few weeks.
Kedarkantha for total beginners: The Summit That Tells You "Yes, You Can"
It's 4 o'clock in the morning. Your alarm didn’t really wake you up, because you barely slept at night. It's chilling cold so you're wearing every layer you had in your backpack, and someone outside the tent is already stamping their feet in the snow.
You step out. The sky is still black and full of more stars than you've ever seen from your city terrace. As you start your final ascend, line of headlamps bobs up the slope ahead of you, tiny moving dots. Your breath turns into little clouds. The snow crunches under your boots, one slow step at a time.
A few hours later, the sky starts turning orange behind the peaks. And there you are. Standing on top of a real Himalayan summit, at about 3,800 metres, with a ring of snow-covered mountains all around you. Swargarohini. Bandarpoonch. Kala Nag. Peaks you'd only seen on Instagram posts, suddenly are right in front of you.
That's Kedarkantha summit morning. And if you're sitting at your desk right now wondering, "Could someone like me actually do this?", this post is for you.
Why Kedarkantha is such a good first Himalayan trek
The walking days are short. On most of the days on the itinerary, the trekking distance before the camps is only about 4 km each, usually 3 to 5 hours of walking. You reach camp by lunchtime and have the rest of the day to rest, eat, and let your body settle. For a first timer, that's a gift.
Your body gets time to adjust to the altitude. You start from Sankri, a village at roughly 1,900 metres, and climb gradually over next few days through camps at Juda ka Talab (around 2,700 metres) and the base camp (around 3,400 metres) before the summit. That slow climb is actually what a beginner’s body needs.
It's a real summit. Most of the beginner treks take you to a beautiful meadow or a pass. Kedarkantha takes you to the top of a mountain. That’s an awesome feeling when you get to climb to the top, and you get it on your very first trek.
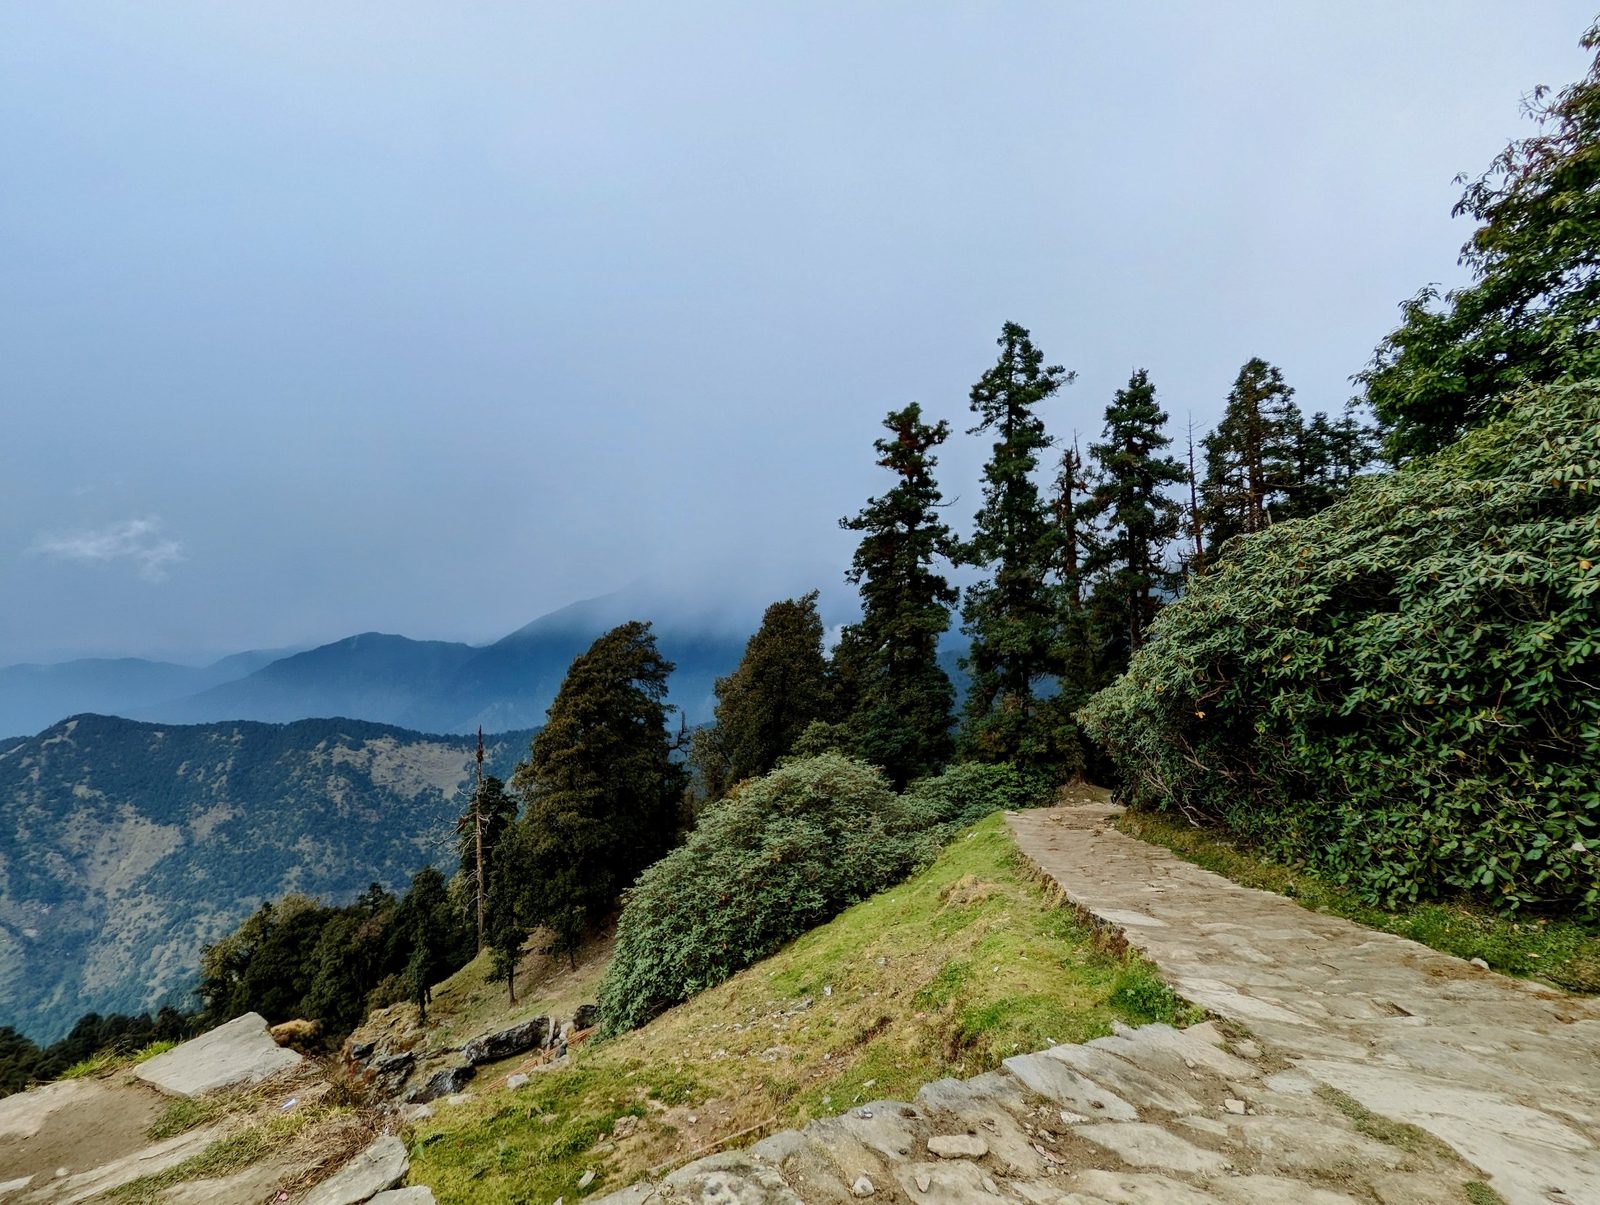
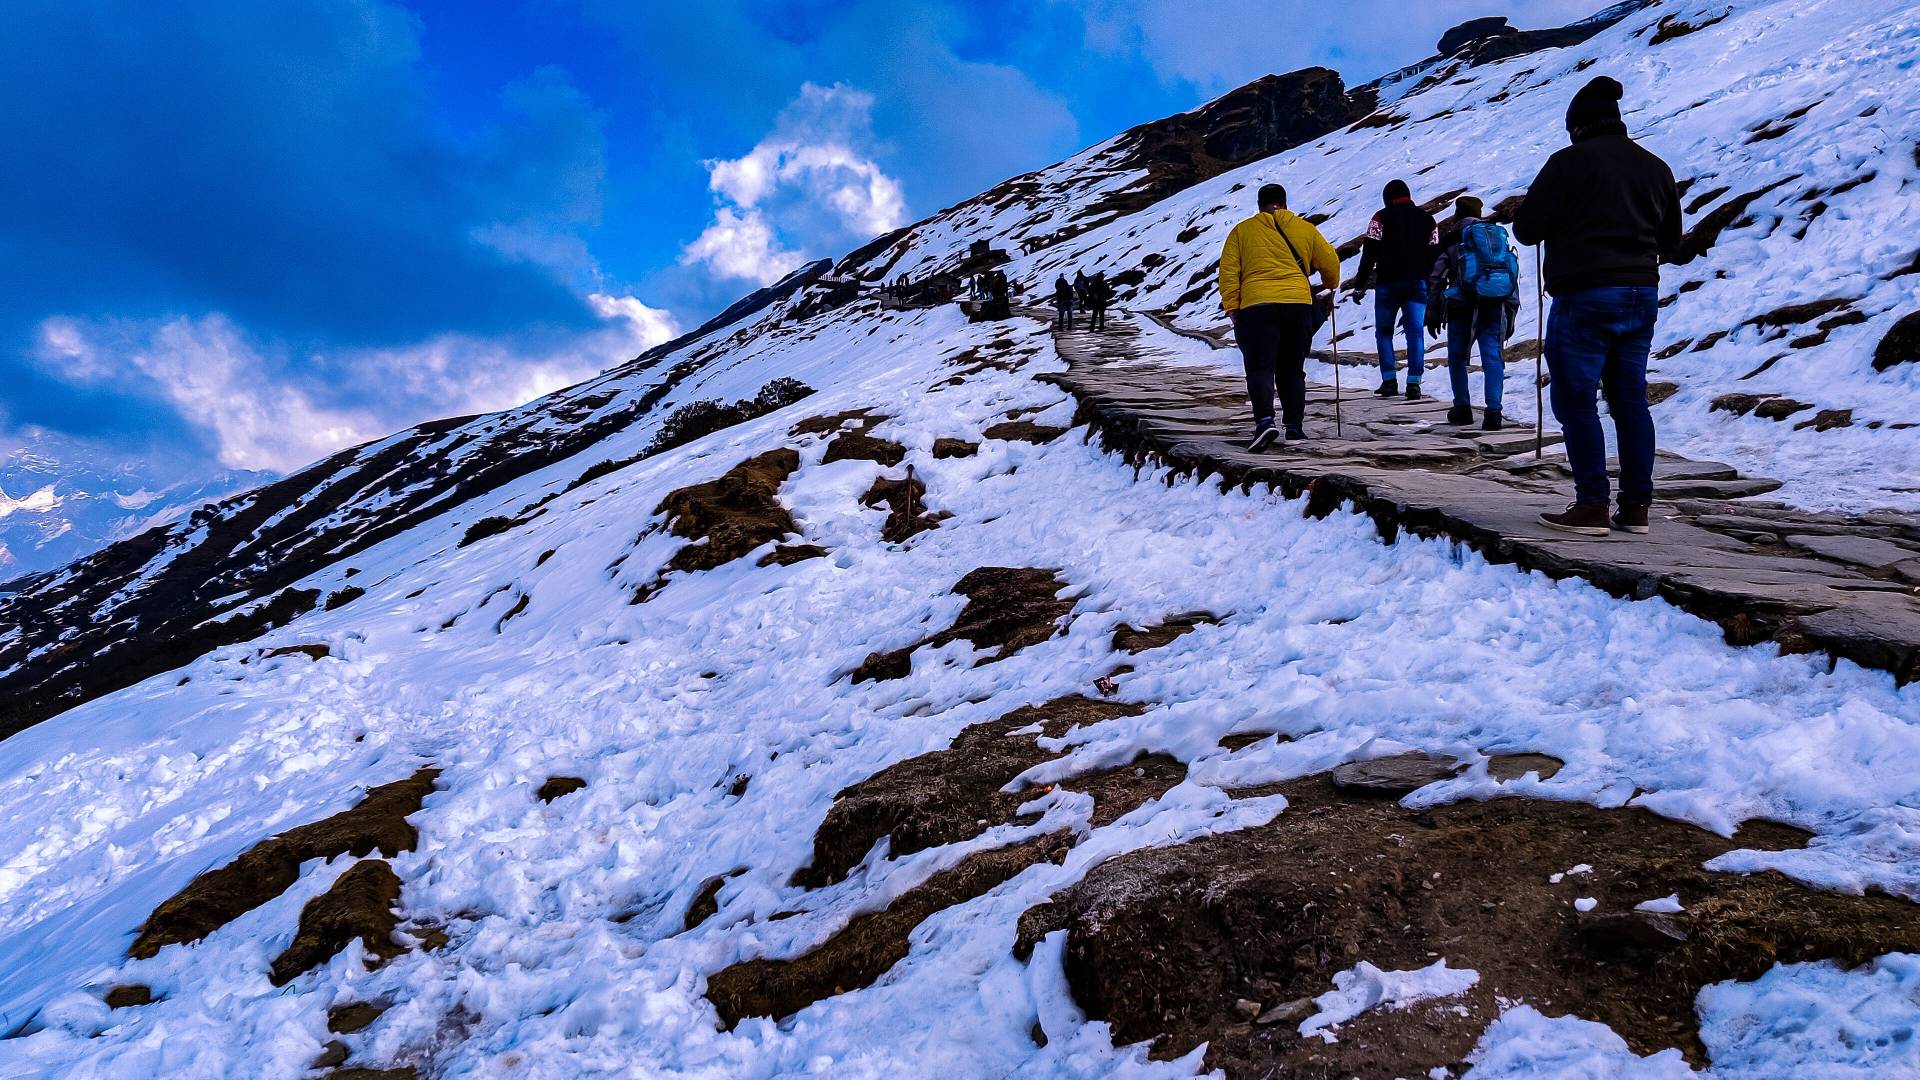
The trail is pure magic. Thick pine and oak forests. Juda ka Talab, a small lake that is mostly frozen in winter. Open clearings where the whole group stops just to stare. In winter, everything is under snow, and walking through it feels like stepping into a postcard.
Kedarkantha is organized by almost all big and small operators and guides, cooks, tents, and even the microspikes for the snow are often part of the package. For a first timer that’s a huge relief. Your job is to only walk, eat, sleep and enjoy.
Now the honest part: what's actually hard
"Beginner-friendly" doesn't mean "no effort". Here's what you still need to be ready for...
Day one is steeper than it seems. 4 km. sounds like nothing, but from Sankri to Juda ka Talab you gain roughly 800 m. That's like climbing stairs, on and off, for a few hours.
The cold In winter, the higher camps drop below freezing at night. Cold makes everything much more difficult: sleeping, eating, getting out of the tent at 4 AM.
Summit Day is long. You start in the dark after a broken night's sleep, climb steeply on snow, then descend to a lower camp. That’s almost 6 to 8 hrs of trek.
Steep Descend. This is what no one tells you but I know this one personally. You reach the summit feeling great, then struggle on the long, slippery descent on the mountain trail.
The altitude. Although this not considered a very high altitude for Himalaya, for a total beginner adjusting to this altitude may feel difficult. At 3,800 m. some people get a mild headache or lose their appetite. Go slowly and tell your trek leader early if something feels off.
But none of this should scare you really. All you need is a bit of preparation. Physically and mentally.
How to train for Kedarkantha (no gym or running background needed)
Give yourself at least 8-12 weeks if possible, if your trek is sooner, even 6 weeks of steady effort can make a real difference.
Weeks 0–4: build the base
- Brisk walks 3–4 times a week. Start where you're comfortable and add 5–10 minutes every week, leading up to 90 min.
- Include Stairs climbing at least once a week, 10-20 minutes
- Use leg strengthening workouts. My Top 5 Exercises for Beginner Trekkers post shows the moves.
Weeks 5–8: make it feel like a trail
- Add your daypack on walks and stairs, adding few water bottles in the bag.
- Train the descent: slow step-downs off a stair, and walk down the stairs with control.
- One longer weekend walk, building up to 2 hours, or a short day hike.
- Climb at a pace where you can still talk a full sentence.
Extend this if you have more time. Finally ease off in the last week before trek and relax. Arrive at Sankri rested, not exhausted.
Not sure where you're starting from? Check my post How Fit Do You Need to Be for Your First Himalayan Trek?
If you have a heart condition, high blood pressure, joint problems, or you're returning after illness or injury, check with your doctor or physio before you start training or book a high-altitude trek.