Top 5 Exercises for Beginner Trekkers: How to Train for High Altitude
Get trek-ready with five proven exercises that build endurance, strength, and altitude fitness.
Trekking is in the spotlight right now as a “thrilling getaway from daily life,” and with good reason. Maybe it was a mountain reel you couldn’t get out of your head, or a friend’s post about how a trail changed their life. Either way, you decided to book a trek. Now here you are, realizing that traversing steep inclines and high altitudes won't be a walk in the park. However, this guide aims to not only give you the best exercises for beginner trekkers but also the confidence boost you need to truly enjoy the experience.
To ensure you are actively enjoying the scenery rather than just struggling to catch your breath, you need a cohesive and practical training foundation. Here are the top 5 exercises for beginner trekkers to build the strength, endurance, and stability required for your next high-altitude trek.
1. Zone 2 Cardio: Your Primary Weapon
### What is Zone 2 Cardio?
Zone 2 cardio is a low-to-moderate steady-state exercise performed at 60% to 70% of your maximum heart rate. It forms the basis of trek-cardio, requiring a pace where you can comfortably hold a full conversation without gasping for air.
### Why is it Critical for Trekkers?
Unlike high-intensity workouts (like HIIT) that burn through carbs quickly, Zone 2 trains your body to efficiently burn fuel, providing energy that lasts for days. It dramatically builds your aerobic base, making your heart pump more blood per beat and helping muscles utilize oxygen more efficiently. For a trekker, this determines whether you actively enjoy a gorgeous mountain view or stare at your boots gasping for air.
### How to Calculate Your Zone 2 HR:
While there are many calculation methods, we will use the most straightforward and popular formula: 220 − Age = Estimated Max Heart Rate Example: 220 − 30 = 190 bpm Multiply your Max HR by 0.60 and 0.70 to find your target range: 190 × 0.60 to 190 × 0.70 = 114 to 133 bpm
The No-Tech Alternative: Use the Talk Test. If you can speak a full sentence aloud but cannot comfortably sing a song, you are in Zone 2.
### Best Exercises to Implement It:
- Brisk walking
- Cycling
- Incline treadmill (low setting)
- Swimming
- Light jogging
The key is consistency. Aim for about 3 sessions a week, keeping your heart rate right in that sweet spot.
2. Progressive Strength Training
### What is Progressive Strength Training?
This relies on progressive overload—the principle of gradually increasing the stress placed on your musculoskeletal system over time. It involves performing targeted resistance exercises and steadily increasing the weight, repetitions, or overall intensity.
### Why is it Critical for Trekkers?
Progressive strength training builds endurance and joint stability for long days on uneven terrain. Going uphill demands substantial quad and glute strength, while trekking downhill places immense repetitive pressure on your knees and ankles. Strength training builds a protective shield around your joints, preventing overuse injuries and aches. Additionally, a strong core stabilizes your pelvis and prevents your lower back from aching when carrying a heavy backpack.
### How to Implement It:
To mimic the demands of the trail, focus on leg and core exercises:
- Weighted Step-Ups: Place your entire foot securely on a stable box or bench. Drive upward solely through the heel of your elevated leg without pushing off the floor, then slowly lower yourself with total control. This perfectly replicates stepping over rocks and steep roots.
- Squats & Lunges: Excellent for building endurance in your quads, hamstrings, and glutes.
- Plank: Crucial for the deep core stability needed to carry a loaded pack for miles. Progressively increase your hold time.
Aim for 2 sessions per week, allowing at least 48 hours of rest between them for muscle repair. Start with your own body weight to master form, then gradually add resistance like dumbbells or a weighted backpack.
3. Stair Climbing: The Elevation Simulator
### What is Stair Climbing Training?
One of the best exercises for trek training, stair climbing involves continuously walking up steps or using a StairMaster. This specific form of vertical cardio is perfect for preparing your legs and lungs for steep mountain ascents.
### Why is it Critical for Trekkers?
Walking on flat ground builds endurance, but it does not prepare you for gravity. Climbing stairs forces your body to lift its own weight vertically with every step, shifting the workload directly onto your calves, hamstrings, and glutes. It builds the leg power required to push uphill for hours and forces your lungs to work harder, closely mimicking the feeling of conquering a mountain ridge at high altitude.
### How to Implement It:
- Track Your Progress: Aim for 20–30 minutes of slow ascent or 30–50 flights of stairs. Progressively add 5 minutes or 10 flights until you can comfortably climb for 45 to 60 minutes, depending on your trek's rigor.
- Stay in Zone 2: Keep your climbing pace slow and rhythmic. You should still pass the 'talk test.' If you are gasping for air, slow down.
- Master the Descent: If using real stairs, walk down slowly and mindfully to build braking strength, protecting your knees and ankles from shock and joint strain on steep downhill trails.
- Beginner-Safe Add-ons: Once comfortable climbing for 30 minutes in Zone 2, add a backpack loaded with 2–3 kg to simulate trail gear. Avoid ankle weights, which alter your natural stride and stress joints.
4. Yoga and Mobility Work: Recovery and Flexibility
### What is Yoga and Mobility Work?
Often overlooked, mobility and yoga focus on improving joint range of motion and lengthening tight muscles. For trekkers, targeting the hips, hamstrings, calves, and lower back restores fluidity after heavy training days, preventing cramps and long-term injuries.
### Why is it Critical for Trekkers?
While cardio and strength help you climb the mountain, mobility ensures you can actually get out of your tent the next day without severe stiffness. Trekking over uneven rocks, roots, and steep drops requires highly adaptable joints. Mobility workouts release deep tension and prevent the structural tightness that leads to injuries on multi-day treks.
### How to Implement It:
Pre- and Post-Workout Integration: Use gentle, dynamic movements before sessions to prime your joints, followed by 10–15 minutes of static stretching.
- Pre-Workout (Dynamic): Leg swings, arm circles, torso twists, bodyweight good mornings, ankle circles.
- Post-Workout (Static): Downward-facing dog, seated figure-four stretch, child's pose, standing quad stretch.
Dedicated Mobility Days: Incorporate 1–2 designated days (20–30 mins each) specifically for yoga and mobility, ideally placed on rest days to maximize recovery without interfering with strength training.
- Hips & Pelvis: Surya Namaskar (Sun Salutations), Lizard Pose, Goddess Pose (Utkata Konasana).
- Leg & Core Relief: Low Lunge with a Quad Stretch Twist, Wide-Legged Forward Fold, Half Pyramid Pose (Ardha Hanumanasana).
5. Practice Hiking & Incline Treadmill Walks: The Dress Rehearsal
### What is Dress Rehearsal Training?
This is the most functional part of your preparation. It involves replicating real trail conditions by hitting local outdoor trails or using a treadmill set to a continuous upward incline.
### Why is it Critical for Trekkers?
Nothing prepares you for the trail quite like the trail itself. While individual exercises build the underlying puzzle pieces, this training forces your body to put them together, developing specific muscle memory to navigate uneven terrain automatically.
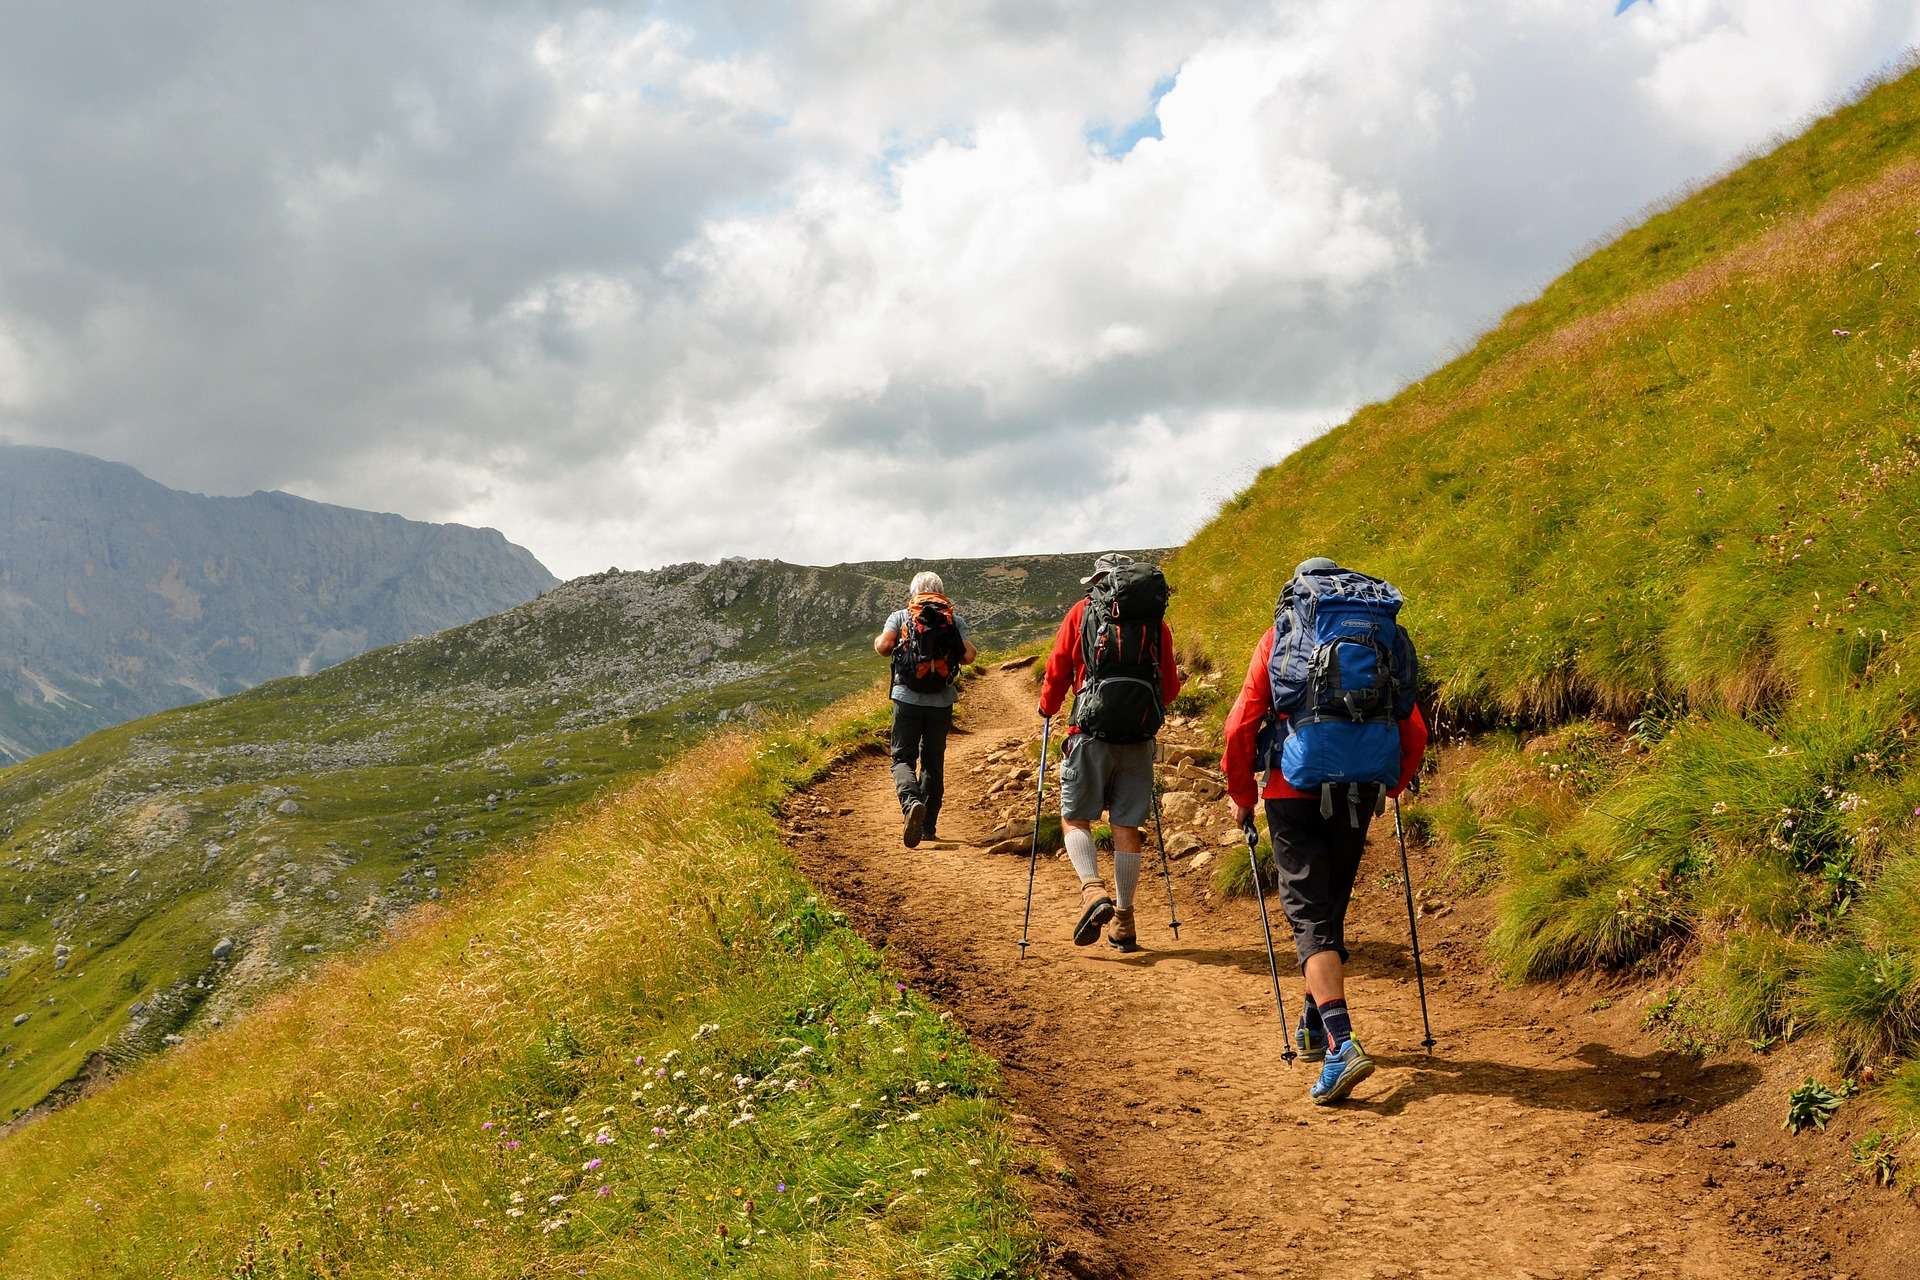
Practicing outdoors is the gold standard because it introduces actual altitude gain. Ascending a real mountain forces your body to work harder as the air thins. Giving your body real uphill miles is the single best way to build the physical and mental resilience required to handle changing altitudes safely and avoid acute mountain sickness (AMS).
### How to Implement It:
- The Outdoor Approach: Get out into nature on weekends. Find a local trail with variable terrain, wear your actual trekking boots and gear, and walk.
- The Gym Alternative: If you are short on time or live in a flat area, set a treadmill to a challenging incline (5% to 8%) and maintain a steady walking pace.
- Maintain the Zone 2 Pace: Do not turn this into a run. Keep your speed slow enough that your heart rate stays firmly within your Zone 2 parameters.
- The Progression: Start with a 30-minute incline walk or a short 2-hour outdoor hike once a week. Gradually increase treadmill time by 10 minutes weekly, or extend your trail time. As the trek approaches, practice wearing your loaded daypack.
With all these exercises under your belt, one final and crucial point remains: building mountain confidence isn't about hitting massive workout sessions alone. It depends heavily on consistency, tracking your progress, and maintaining an optimistic mindset even when training feels slow. Every flight of stairs you climb and every intentional stretch you make is a deposit into your summit bank account.
Trust the process, celebrate the small weekly milestones, and watch your capabilities expand. The majestic landscapes are waiting to be explored, and you are building the engine to get there. Let’s get training!